Showing posts with label SDP005 Design One. Show all posts

Friday, 6 May 2011

Final Photographs of Design One

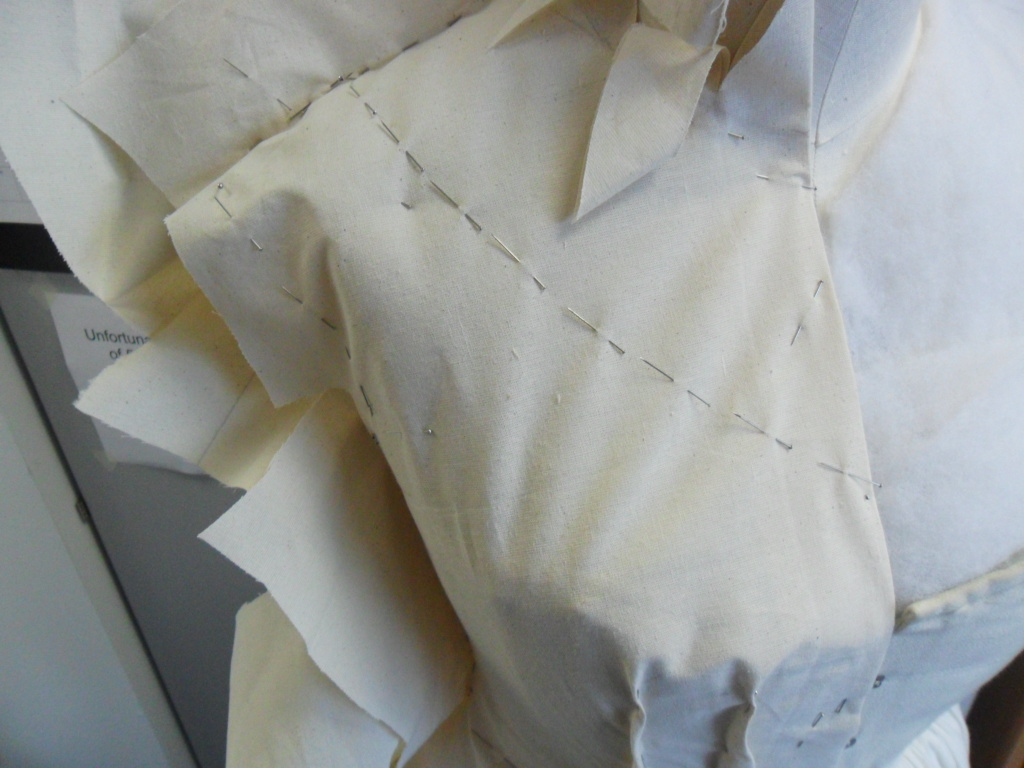
Please see below for final photographs of design one:

Unfortunately because of design two being placed on the padded mannequin for assessment the garment does not fit a standard mannequin correctly. The images are still a great way to show you the work that I have created and the overall silhouette can still be interpreted.


Tuesday, 3 May 2011

Finishing off the Garment: Design One

I created a basic block of a two piece sleeve from the measurements used for this garment. I then used the pattern in the Arnold, J. (2009) book as a guide to change the modern two piece sleeve into an appropriate replica. I think that this worked really well and was very effective. 

Please see my work book for the pattern.

Sunday, 17 April 2011

Cartridge Pleat Skirt: Design One

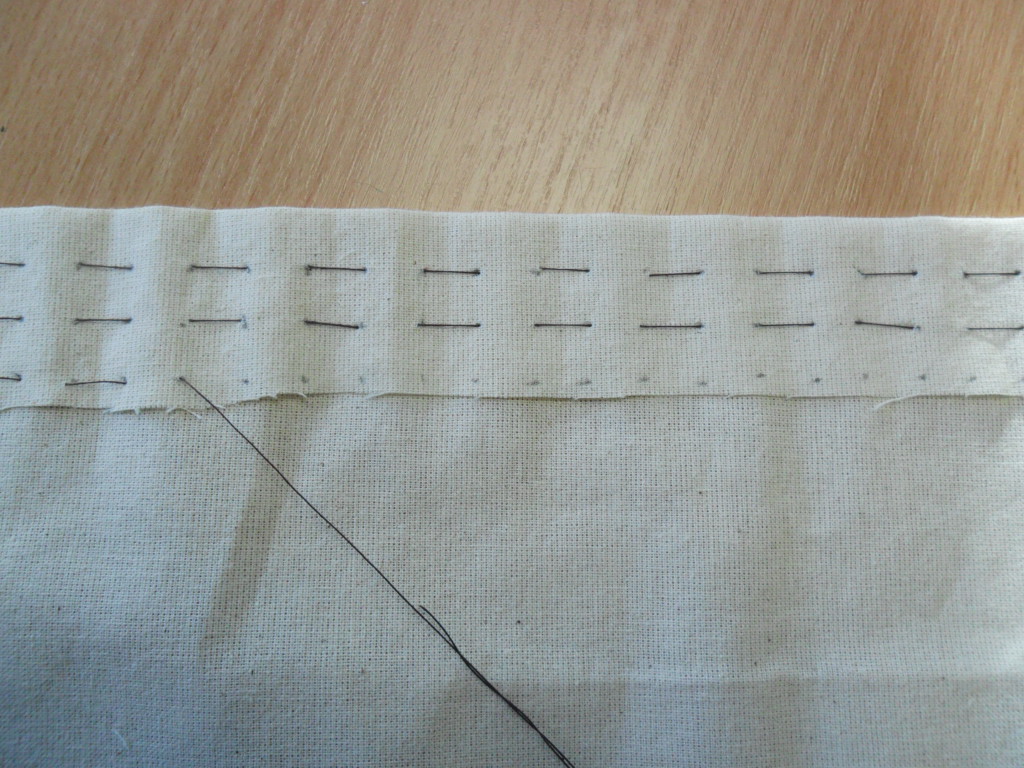
Using the pattern as a guide I worked out how much more my pattern will need to be to go around part of the bodice. I then first did a sample cartridge piece.

Upon pinning this to the bodice hem i noticed that the curve on the pattern did not go on long enough to incorporate the point of the bodice. I therefore marked where the curve needs to stop on the skirt. 

I have also decided to place a seam down the centre of a cartridge pleat to create a longer skirt.


Making the Bodice: Design One


I sewed each piece together using the required thickness of piping stated in the Arnold, J. (2009) book who stated what measurement the piping was on the original design.  I believe that piping is a really beautiful way of finishing off a garment. 

Friday, 1 April 2011

Useful and Developed Research: Design One

After Choosing my design I went back to the libary at various points while draping to find research to help me with decisions on what roots to take.

There is a larger amount of research in my work book which I found very useful while draping the pattern. However below are a few images that really helped me:

 Fischel, O. (1907).
 Fischel, O. (1907).

I found these two images really useful to see how the dresses of this period sat on the shoulders as well as how the decoration that is seen at the front.
 Lynn, E. (2010).
Lynn, E. (2010).
 Waugh, N. (1996).

 I looked at corsets from around the same year to look at what types of underwear women would be likely to wear underneath my dress. 

Unfortunatly I was unable to find images of the many layers of petticoats they wore but however I did read and learn about it.
Johnston, L. (2009). 

I thought that this image was really useful to look at how costumes of that period were finished off and what i should consider if making into a full costume.
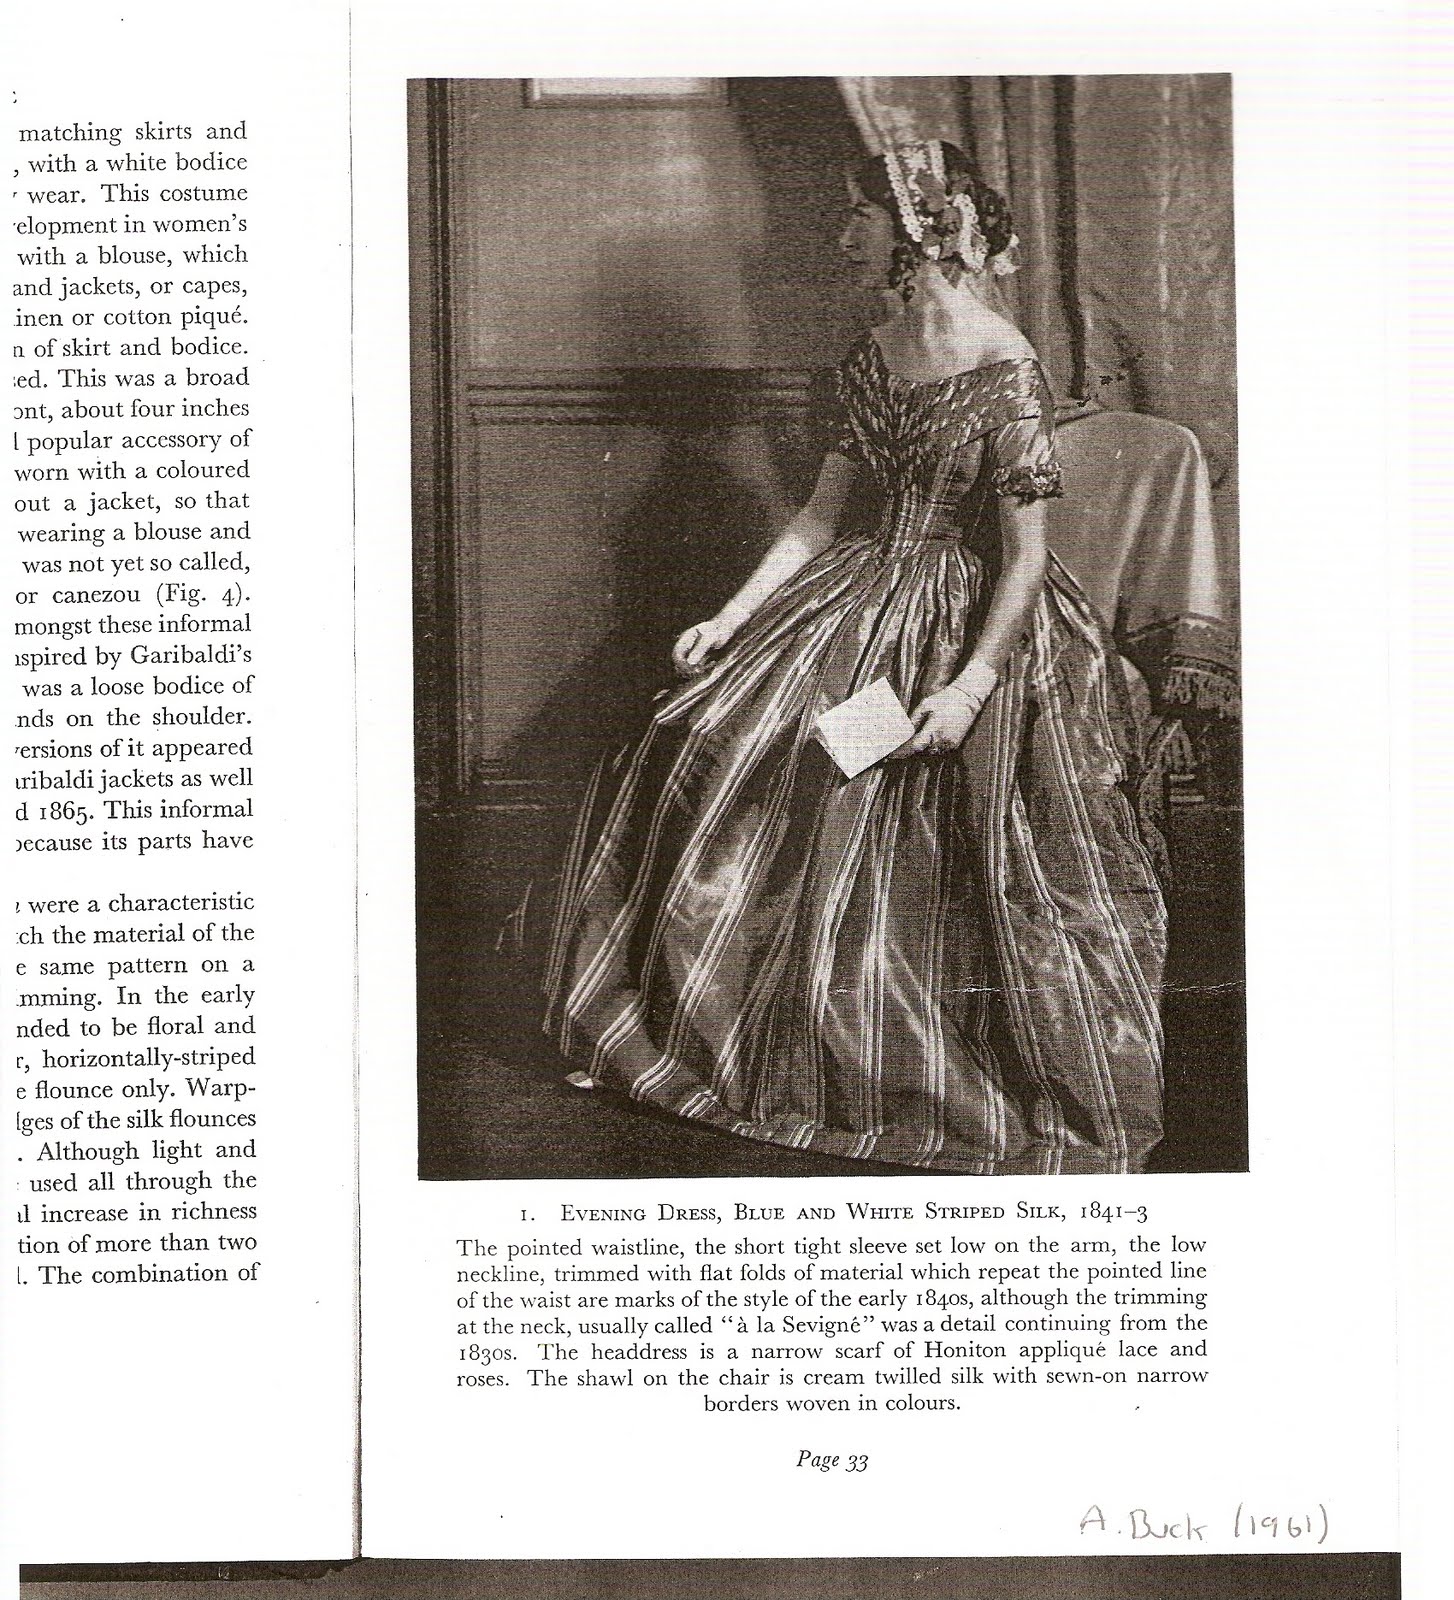
 Buck, A. (1961)

Hunnisett, J. 

All this research and more in my work book helped me to drape my costume and was a great advantage.

Wednesday, 30 March 2011

Draping the Bodice: Design One


To get the silhuette that is required for this deisgn i would need various layers of petticoats, unfortonalty there are not a large variaty of simluar full body petticoats to creat this look. To get the needed silhuette that i required I deicded to pad the one petticoat out around the waistline to give this fullyness required. The cartrage pleats of the skirt will also make the dress fuller. 

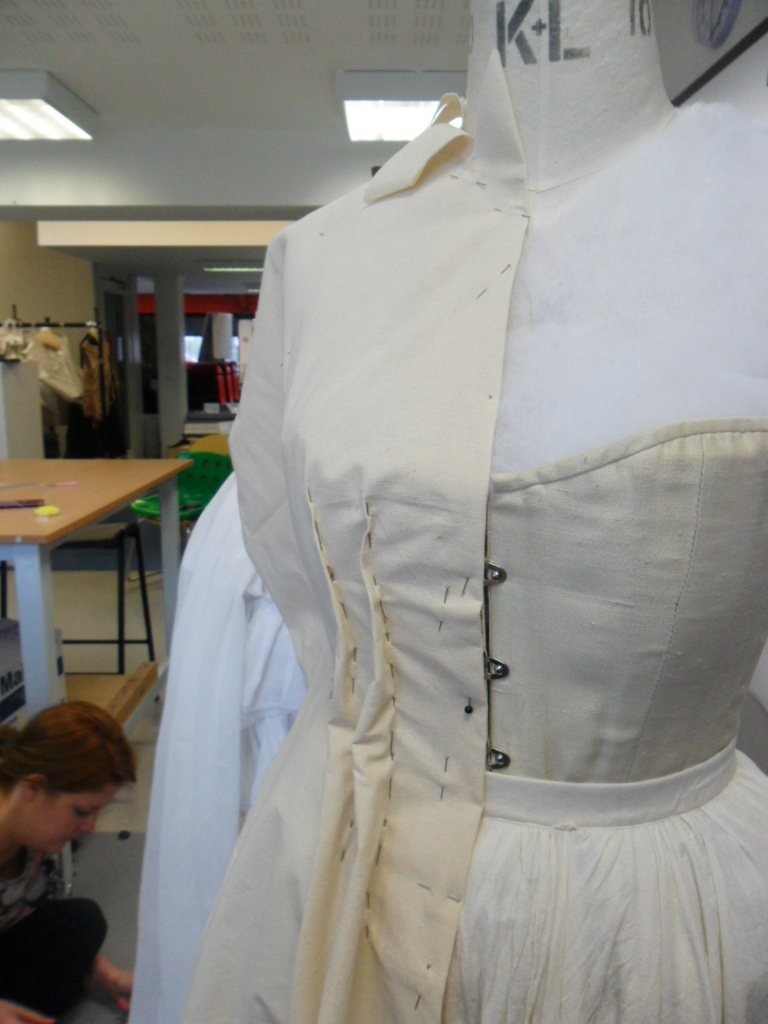
To start draping this design i followed the insturctions first taught to me at the start of this univsity year. I started with the CF of the bodice and have decided to work from there.
I constantly refeared to both my deisgn and the pattern that acompanys the deisgn in the Arnold, J. (2009) book. I have used the pattern in the Arnold, J. (2009) books as a guide more than something to copy because the pattern is Arnold's interpritation of how the origional dress will have been cut by taking needed measurments of the origional dress.

My body figure and the figure of women today is very different to that of women in 1830-40.


 I have marked out potenal design lines with pins so that i can look at the bodice as a finished product before drawing all over the calico so that it is kept as neat as possible.


 On the pattern that I have been refearing too it states that the side pannal has been cut on the bias, this is different to the way I have been taught at University. I decided that this might have been a technique used back in the 19th century and decided to keep with the way i have been taught and cut the side pannal on the straight of grain to match the center front and center back, because i could not think why the side pannal would need a extra stretch within the fabric when it is placed over the top of a very hard and fitted corset.


After playing with the calico I marked up all the seams, design lines and darts, took the calico off the mannique and made a pattern of this. 

The patterns made from this cutting on the stand bodice can be seen in my workbook.

Preparing the Mannique

I have decided to get a smaller size mannique and pad it out so that when a corset is placed over the top of the mannique it will still create a smoth hour glass shape rather than a very hard and straight  body that the mannique has. 
 I found a corset that fitting myself and took measurments to transfear this to my manniqune so that I was working to a human shape rather than just a mannique. This means that i can check thinks such as armholes and sleeves fit onto a natural body shape.

Tuesday, 29 March 2011

Design One

The first design  I will be working on is: 


Arnold, J. (2009).


I have chosen this design as my first cutting on the stand project piece because it has a very simple but elligant cut to the bodice. This means that it will be a slight challange to ensure that the pieces of the bodice have a smooth sharp curve like the one seen on the line drawing but the pieces will be simple to drape onto the stand with the grain of the fabric in the correct dirrection.